Compatible with:


Run your machine tending
operations lights out
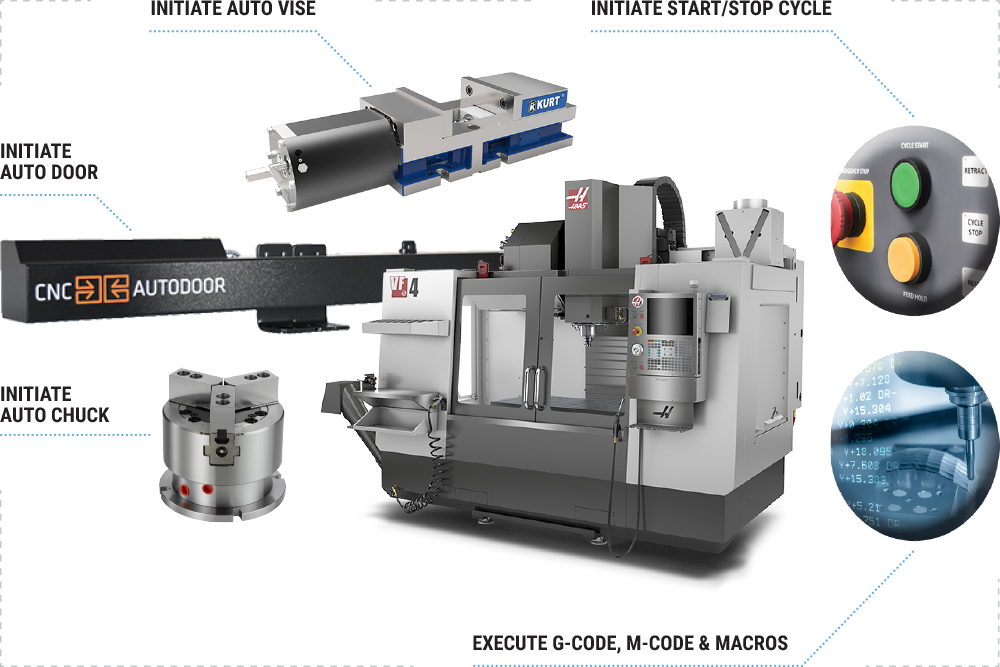
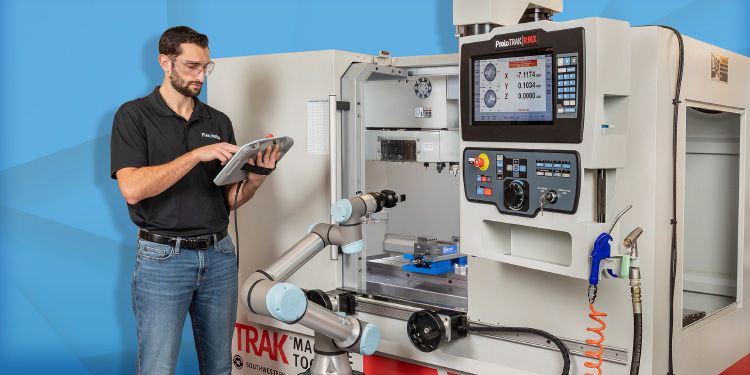
The FlexxCNC™ enables you to automate all aspects of your CNC. Execute G-Code, actuate vises / chucks / doors, initiate stop / start / wait cycles and connect to any other peripherals all through polyscope through the FlexxCNC™.
Run your machine tending operations lights out
The FlexxCNC™ enables you to automate all aspects of your CNC. Execute G-Code, actuate vises / chucks / doors, initiate stop / start / wait cycles and connect to any other peripherals all through polyscope through the FlexxCNC™.
Standardize the solution
across your shop
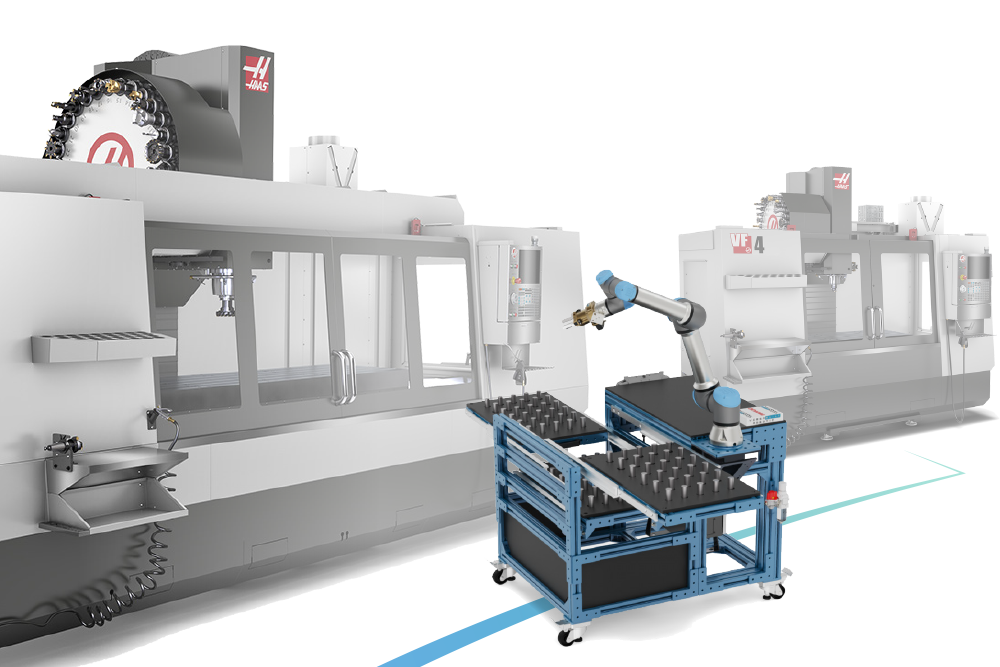
The FlexxCNC™ is compatible with a majority of CNC machines giving you the ability to standardize this solution across your shop. Move your cobot and FlexxCNC™ from one machine to another as demand shifts or build your cobot fleet to service the variety of CNC’s on your floor.
Streamline with
machinists in mind
The FlexxCNC™ tool kit is built with machinists in mind. Everything from the dedicated I/O to direct where to wire your into your CNC/peripherals to using programming language in polyscope that coincides with your machine enables machinists to take on both the integration and operation of their cobot workcell.

Streamline with machinists in mind
The FlexxCNC™ tool kit is built with machinists in mind. Everything from the dedicated I/O to direct where to wire your into your CNC/peripherals to using programming language in polyscope that coincides with your machine enables machinists to take on both the integration and operation of their cobot workcell.
FlexxCNC™ helps you to:

Reduce Robot
Integration Time
Redeploy Your Robot
on Multiple Machines

Run Commands
to Your Machine

Simplify Your Robot
to Machine Operation
Read Our
RDS Case Study
Read about how we helped solve RDS’s
machinist labor shortage issues
FlexxCNC™ Financial
Justification Article
Read about the cost savings of integrating
the FlexxCNC™ into your CNC operations
What our customers are saying
How FlexxCNC™ works:
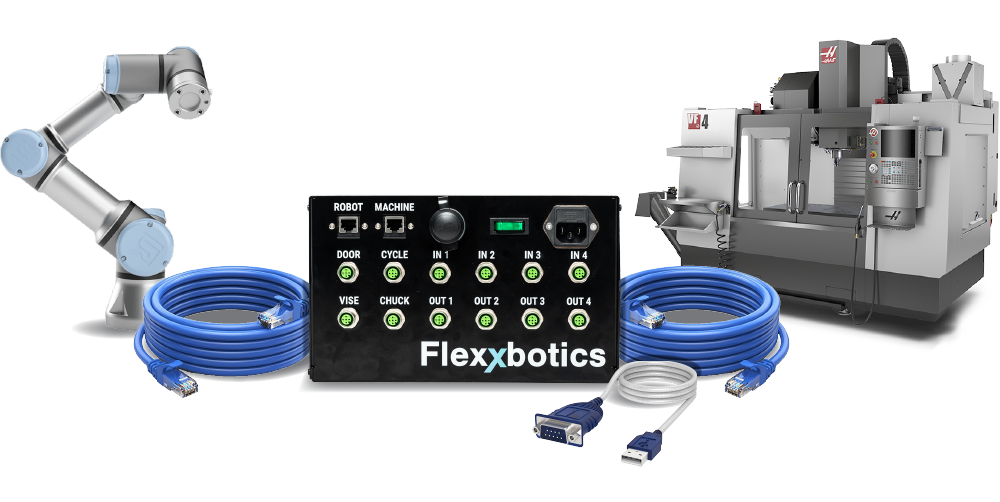
Part 1:
Connect your cobot and machine to the FlexxCNC™ middleware
Part 2:
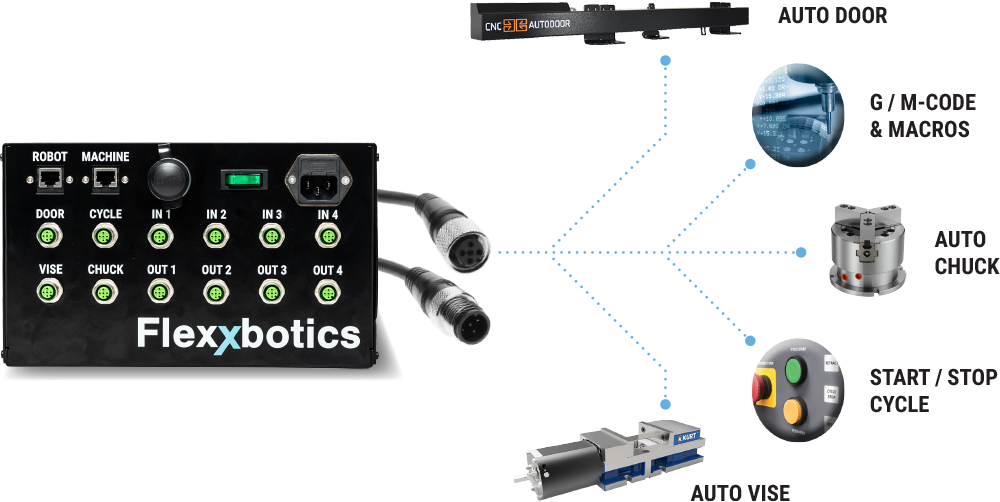
Wire to your peripherals
- Dedicated & labeled I/O
- Wiring kits & instructions to all peripherals
Part 3:
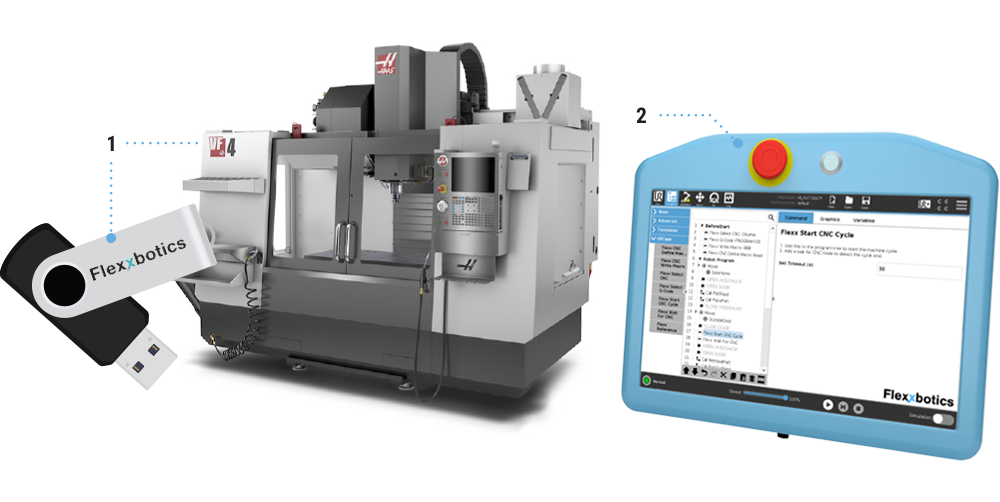
Build your program
- Upload the executable/configure server connection
- Build your program in polyscope using Flexx programming nodes
View all the
Compatible
CNC Machines
Learn more about the
compatible CNC companies
Read Our CNC
Machine Tending
eBook
Learn how to automate you
CNC with collaborative robots
Best in class interface giving you the ability
to automate all aspects of running a CNC

Load
G-Code

Cycle Start /
Stop Detection

Write
Macros

Control Peripherals
(Door, Vise, Chuck)

Programming
Templates
Multi-Op Robot
Automation

Standardized
Software

CNC Interface
Software Library
Technical Articles
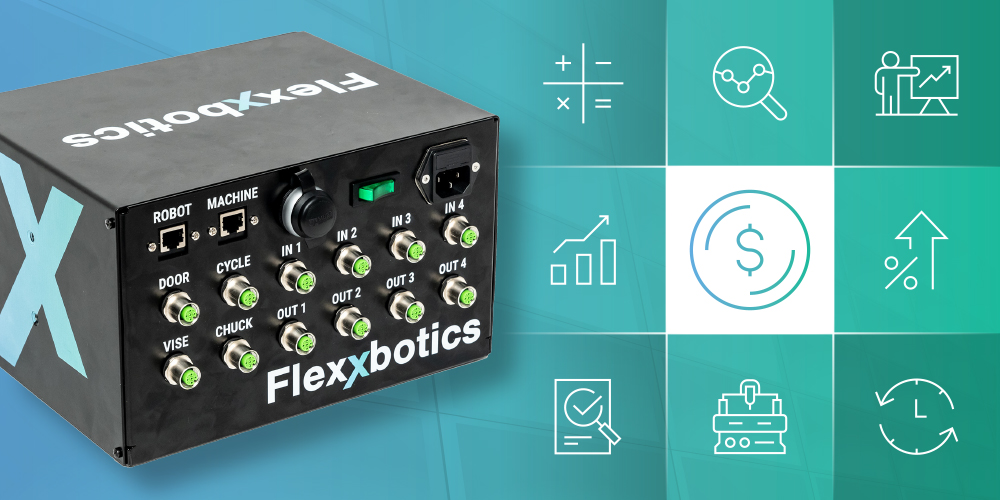
FlexxCNC™ Financial Justification
12/4/2022
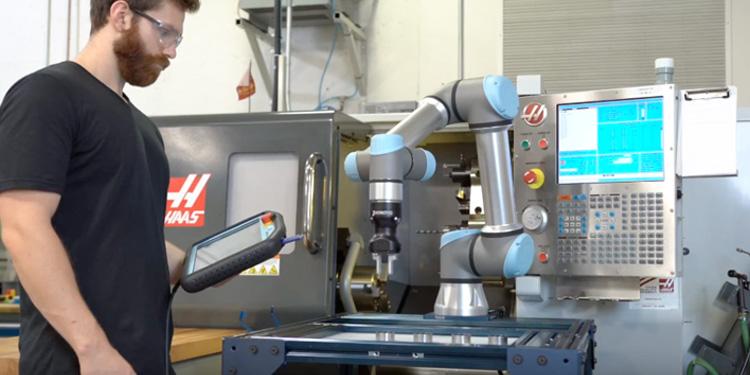
Machine Tending CNC Robots
2/28/2022
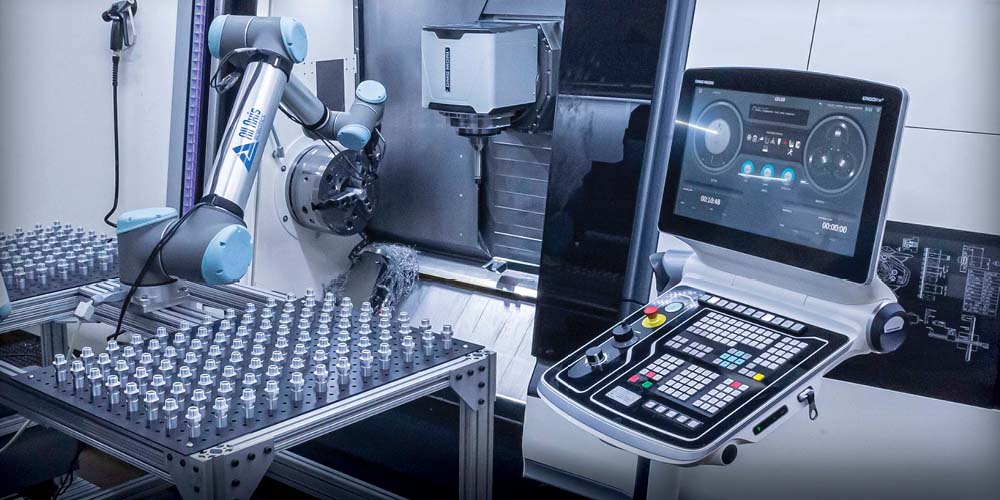
Machine Tending Robot Redeployment
Sep 2021
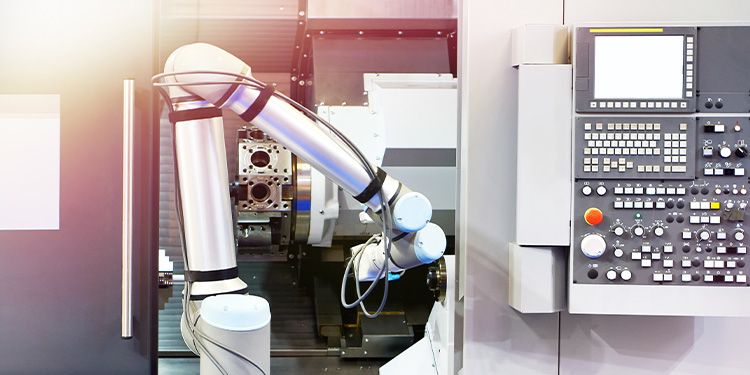
Connect A Cobot To Your CNC Machine
Feb 2021
Integration Guide | CNC Machine - Cobot
Feb 2021
FlexxCNC™
Specifications & Resources
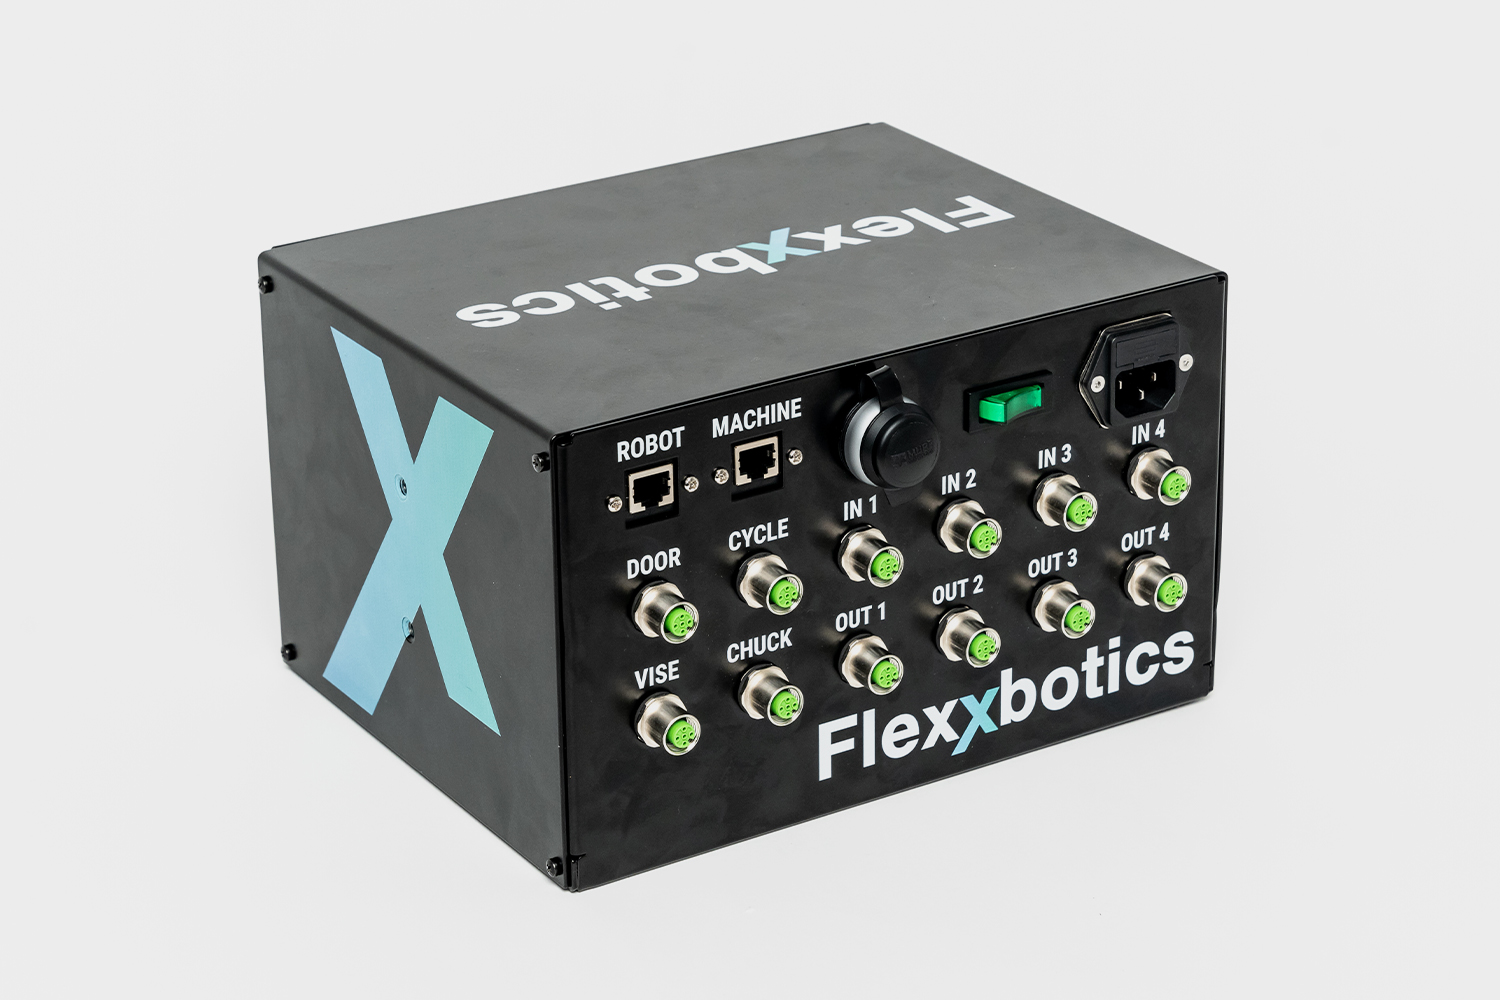
Power: 120V AC (American Standard, outlet type: Type B NEMA 5-15)
Mounting: M6 mounting holes
Dimensions: 10″ x 8″ x 6″
I/O: DIO at 24V (Relay provided for non 24V integrators)
CNC Compatibility: Haas, Mazak, Fanuc, Okuma, Brother, Mitsubishi, DMG Mori, Siemens, Heidenhain & Hurco
Robot Compatibility: CB3 and E-Series
Connectors: (12) M12 DIO connectors, 1 USB, 2 Ethernet port, 1 Power entry module
How It Works
Download UR Cap
User Manual
FlexxCNC 1-Page
Financial Justification
Okuma User Manual
Fanuc User Manual
Haas User Manual
Mazak User Manual
Speak with an Expert
Frequently Asked Questions
Test
Test
Why is my UR program timing out?
When the FlexxCNC™ middleware isn’t able to send signals over ethernet to the UR Robot, the program will timeout. The node that is causing the timeout can us where the issue is. Learn more
Okuma server isn’t working
Issues related to the server come in two types: where the server crashes on running, and where the server does not respond to UR node commands. Learn more
G-code is stuck on an M00 or M0
This error often appears due to not enough “Cycle Start” and “Wait for CNC” pairs being present for the program being loaded into memory or currently running. Learn more
How do I wire my FlexxCNC™?
The FlexxCNC™ M12 connections are all similarly wired to have a 24V (volt) source, and 0V ground, and one or two signal pins. In this way, both sinking (NPN) and sourcing (PNP) signaling styles can be used. A normally open (NO) relay will be included in kits so that CNC’s with non 24V signaling can be triggered using the FlexxCNC™’s outputs. Find the wiring diagram here.
What power rating does the FlexxCNC™ use?
The FlexxCNC™ will draw no more than 12W (watts). The outputs provide 24V (voltage) signal, and the inputs detect a 24V signal. Learn more
Test
Test
What do I do if my CNC machine does not have an ethernet port?
You can still automate your machine! In this case, you will be using the Flexx CNC Start Cycle Node, and a Wait node, using the “Wait for ___” mode. Learn more
Do I need an executable to set up the FlexxCNC™?
The only interfaces that require an executable to be placed on the Machine HMI are the Okuma OSP300 and OSP200. Fanuc, Mazak, and Haas interfaces only require some settings changes outlined here.
How do I get my license key for the FlexxCNC™?
The best way to get your license key is to email us at support@flexxbotics.com with your company name and the serial number of the robot you will be using with the FlexxCNC™. Your robot’s serial number can be found by navigating to the installation tab, finding the URCAP dropdown, hitting the FlexxCNC™ tab, and then the Setup tab at the top. Below your activation key field is the serial number of your UR! Learn more
What type of I/O connectors does the FlexxCNC™ use?
What if I need additional I/O ports outside of the FlexxCNC™?
While expanding the M12 I/O ports is not possible at this time, the Flexx CNC does not interfere with or use any of the native UR DIO ports! Check the inside of your UR control cabinet and the DIO nodes in Polyscope to expand your DIO options. Learn more
LEARN MORE AND GET STARTED…
"*" indicates required fields
Flexxbotics values your privacy. Website terms and conditions.
